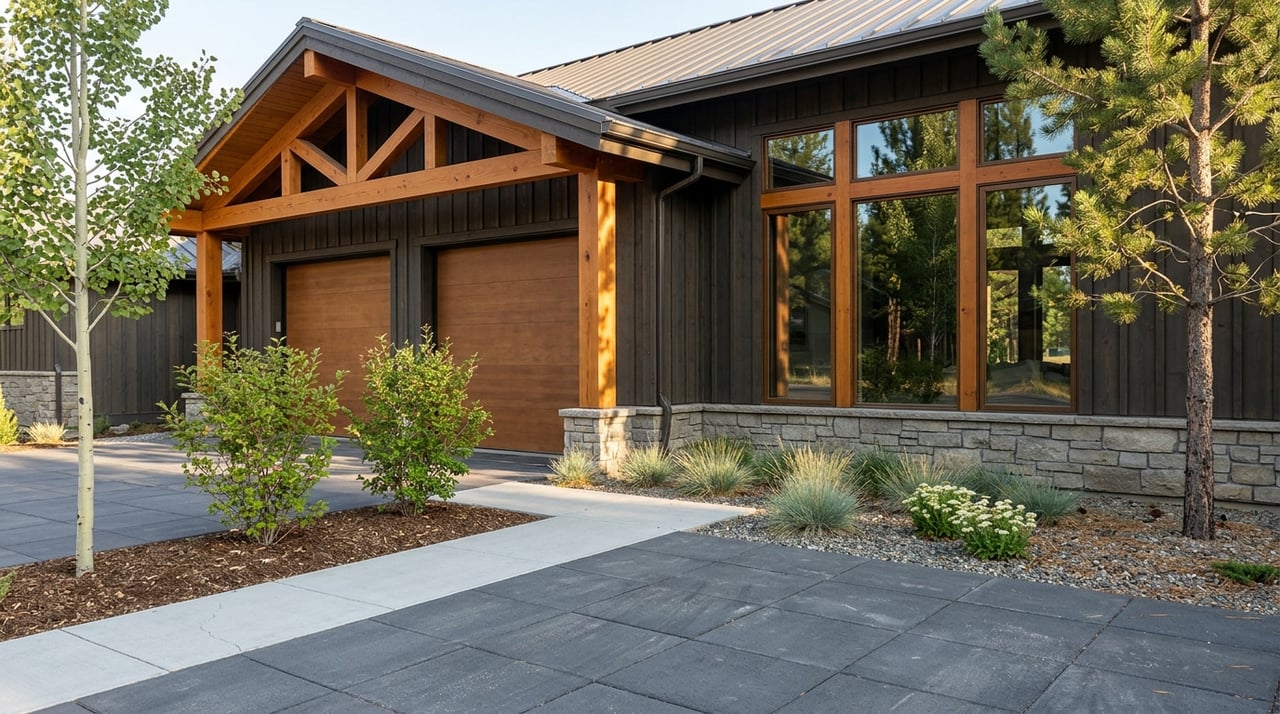
Wet boots, fogged goggles, and puddles at the door can turn a great ski day into extra cleanup fast. If you live or vacation in Mountain View or the greater Big Sky area, you know winter can be long, snowy, and soggy. The right ski gear room keeps moisture and grit contained, gets gear dry for the next run, and helps your home show its best when you decide to sell. This guide walks you through a clear plan for layout, drying, ventilation, materials, and resale so you can design a room that works all season. Let’s dive in.
Why a ski gear room matters here
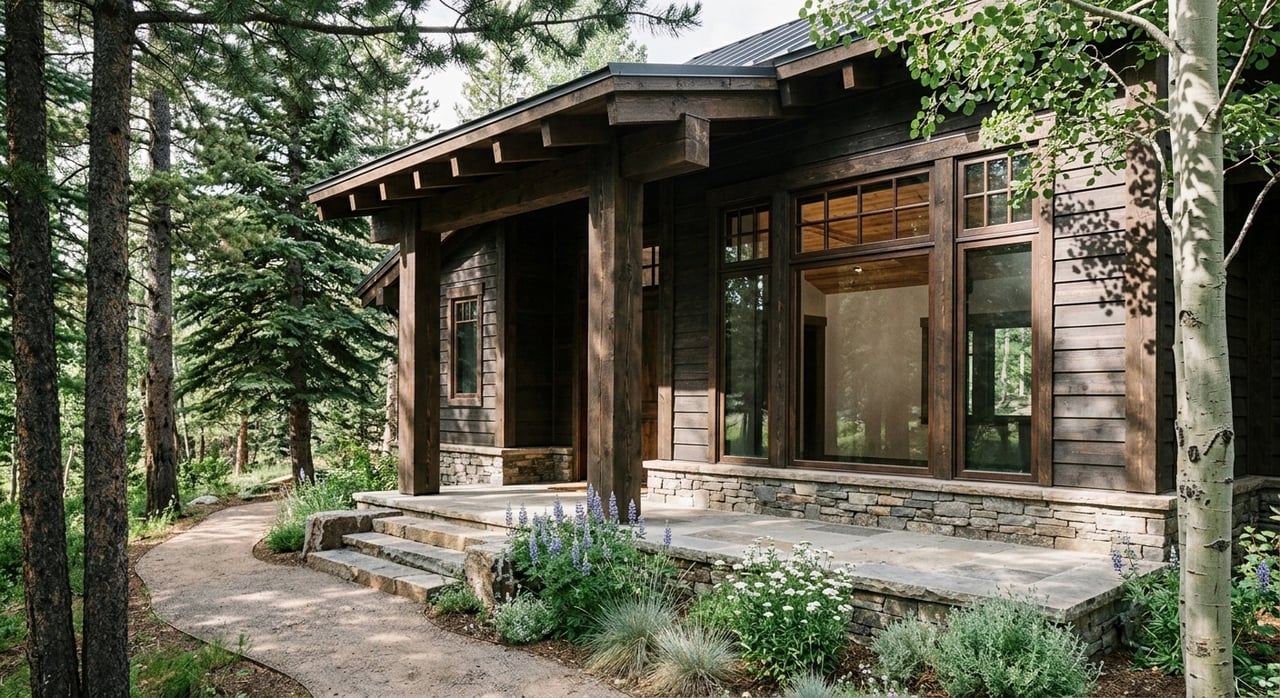
Mountain View and Gallatin County see sustained cold, heavy snowfall, and frequent freeze–thaw cycles. That means a lot of wet gear moving through your door, day after day. A well-designed room contains water and salt, speeds drying, and protects finishes in the rest of the home.
Many properties here are primary residences, second homes, or vacation rentals. Your room needs to handle daily family use and occasional peaks when guests arrive. Building in flexibility makes life easier and helps your home stand out to buyers.
Start with smart zoning
A good ski room follows a simple three‑zone flow from the exterior door into the home. This keeps the mess at the door, directs wet items toward drying, and transitions you back into clean spaces.
Zone 1: Entry and wet zone
Place this immediately inside the exterior door. Include a sturdy bench with a depth of 16 to 20 inches so you can sit and remove boots comfortably. Add a heavy-duty mat or boot tray, and consider a floor drain or waterproofed floor area to catch meltwater.
Keep a clear walkway of at least 36 inches for safe movement. If two people often pass each other with skis or boards, aim for 42 to 48 inches. Durable lower-wall protection helps resist abrasion and salt in this zone.
Zone 2: Transition and drying zone
This is where the real work happens. Position active dryers, open racks, and hanging areas where air moves well. Keep electrical outlets close by and plan for safe clearances around any heat-producing equipment.
Open shelving and slotted surfaces help airflow, while powered boot and glove dryers reduce odor and mold risk. Keep this zone between the wet entry and the clean living transition to contain humidity.
Zone 3: Clean living transition
Use a coat closet, closed cabinetry, or attractive lockers for items that are dry and ready to go. This zone should feel tidy and calm. If possible, include a door or short corridor separating the ski room from primary living spaces to reduce moisture transfer.
Choose drying systems that work
Passive drying is simple but slow in cold conditions. Slotted shelves and good airflow help, yet on busy ski weeks you will want powered options.
- Forced-air boot and glove dryers speed evaporation and reduce odors.
- Heated drying racks can handle jackets and pants efficiently.
- Cabinet-style gear dryers protect sensitive items like helmets and goggles with gentle circulation.
Group dryers on dedicated circuits with GFCI protection in wet areas. Follow manufacturer instructions on spacing and ventilation. Place equipment so humid exhaust has a clear path to your ventilation system or a proper exhaust route.
Control moisture and air
Moisture control is essential to avoid condensation and mold growth. Integrate the room with your home’s ventilation strategy.
- HRV systems exchange air while recovering heat, which is common in cold climates.
- ERV systems also transfer some moisture and can help stabilize humidity when the space gets very wet.
- A small, continuously operating or humidity-triggered local exhaust fan can be highly effective.
If your home is tight and well insulated, a compact dehumidifier can help during long wet spells. Position supply air high and pull exhaust near the ceiling or in a way that moves moisture away from gear and out of the room.
Plan drainage and durable floors
Waterproofing starts underfoot. If heavy meltwater is common, a floor drain is ideal. Coordinate with a licensed plumber and follow local code, including trap access and a subtle slope toward the drain.
If a drain is not practical, choose a water-tolerant floor that can be fully sealed. Good options include porcelain tile or stone with quality grout and sealant, sealed concrete or epoxy, and commercial-grade vinyl or rubber with sealed seams. Prioritize slip resistance and add robust baseboards or wainscot to resist splashes and salt.
Storage that fits your gear
Smart storage prevents clutter, protects equipment, and makes the space look great in photos.
Skis and boards
Use vertical wall racks with soft-contact surfaces to save floor space. A slat wall with adjustable brackets adapts to changing quivers. Ceiling hoists can hold seasonal overflow.
Boots
Combine open cubbies with drain trays for quick parking and boot dryers for daily use. If you host guests or rent periodically, consider lockable cubbies or labeled lockers for each kit.
Outerwear
Install heavy-duty hooks at 60 to 72 inches above the floor for long parkas and a lower row for kids. Add rods or segments for airing wet garments, especially near the drying zone.
Small items and tuning tools
Keep goggles, gloves, wax, and tools in enclosed bins or cabinets to prevent damage and visual clutter. Helmet shelves with perforated bottoms improve ventilation.
For staging, integrate concealed storage so you can tuck away overflow quickly. A tidy wall of cabinets reads clean and upscale.
Heat, power, and utility details
Warmth speeds drying and makes the space welcoming. Radiant floor heating pairs well with tile or concrete and adds comfort as well as faster evaporation. A small wall or baseboard heater can supplement during peak loads.
Plan electrical early. You may need dedicated circuits for multiple dryers and dehumidifiers. Use GFCI outlets near wet zones and provide task lighting with motion sensors for convenience when arms are full of gear.
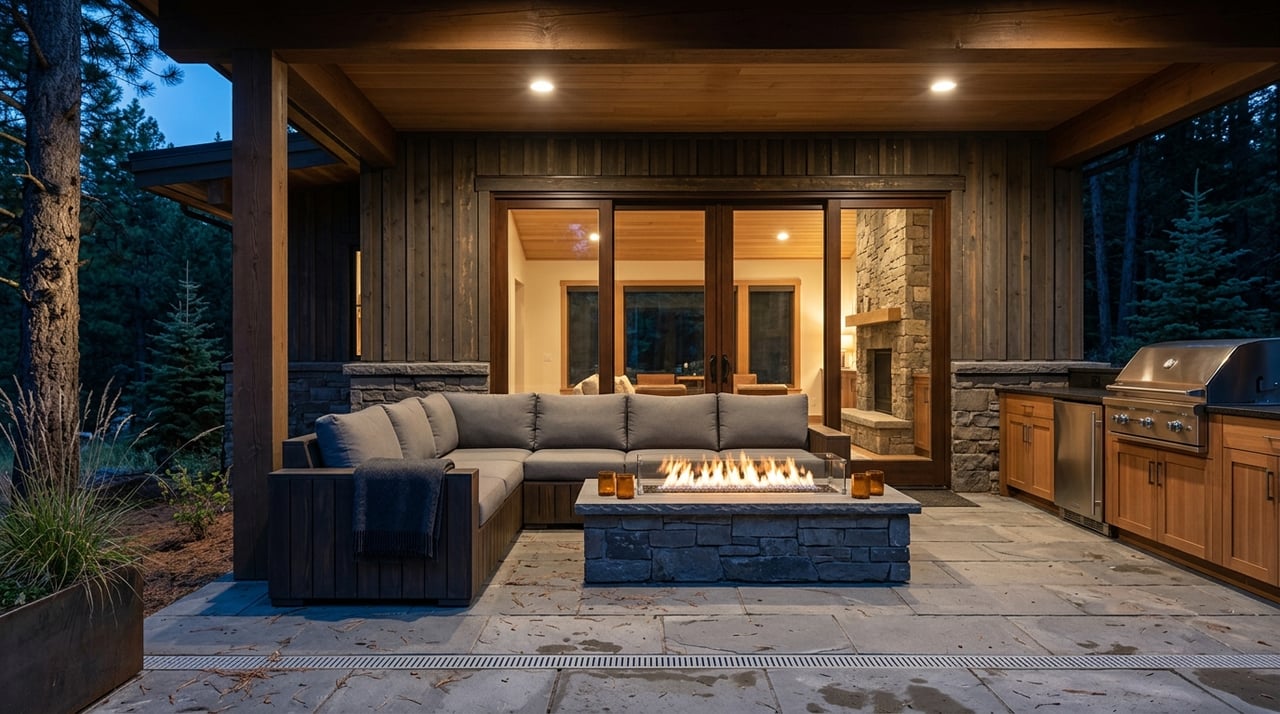
If space allows, a utility sink is a major time-saver for rinsing boots and managing salt. Follow manufacturer clearances for all appliances, and add smoke and carbon monoxide detection nearby if any combustion equipment is present.
Materials and style that photograph well
Use finishes that are durable, washable, and easy to stage. Moisture-resistant wallboard or tile wainscot protects lower walls. Choose cabinetry made with water-resistant materials and corrosion-resistant hardware.
Quartz, solid surface, or durable laminate countertops clean easily. Washable paint in satin or semi-gloss with a mildew-resistant formulation holds up to repeated cleaning. Neutral, light tones photograph beautifully, while wood accents and warm textures keep the room inviting.
Resale benefits in Big Sky
In mountain resort markets, buyers expect organized gear storage. A dedicated ski room signals that the home is set up for local living, which can be a perceived value-add.
When you list, showcase heated floors, built-in organization, and quality finishes. Keep visible gear to a minimum in photos and show a tidy, functional setup instead. If you have made plumbing or electrical changes, make sure proper permits were obtained and keep documentation ready for disclosure.
Project planning checklist
- Define user count, including peak guest or rental use.
- Pick a location with direct exterior access and a short route to living areas.
- Decide on wet-zone containment: floor drain or fully sealed floor, plus bench and mats.
- Plan drying: combine passive airflow with at least one active boot and glove dryer.
- Integrate ventilation: consult an HVAC pro about HRV, ERV, and local exhaust.
- Choose durable floors, wall protection, cabinetry, and corrosion-resistant hardware.
- Lay out electrical and plumbing early, with GFCI and dedicated circuits where needed.
- Build in concealed storage for clean staging and flexible use.
- Pull permits for plumbing, electrical, or heating work and hire licensed trades.
- Set a contingency for moisture remediation if you open walls or floors.
Bringing it all together
Designing a ski gear room for Mountain View living is about flow, drying power, and materials that shrug off water and salt. With the right zoning and ventilation, your space will keep the mess contained and your gear ready for first chair. With thoughtful finishes and concealed storage, it will also photograph and show beautifully when it is time to sell.
If you want local guidance on what resonates with Big Sky buyers and how to align your project with long-term value, reach out to Michelle Horning. As a boutique, relationship-driven advisor, she can help you prioritize upgrades and position your home with premium marketing. Connect with Michelle Horning to start a conversation.
FAQs
Do Mountain View homes really need a floor drain?
- If you see frequent meltwater and the room sits at or below grade, a floor drain is highly beneficial. Confirm feasibility and code compliance with a licensed plumber.
What size should my ski room walkway be for safe circulation?
- Aim for a clear path of at least 36 inches. If two people often pass with skis or if you store larger items, target 42 to 48 inches.
Is radiant floor heating worth it for a ski gear room?
- Yes for comfort and faster drying, especially with tile or concrete. It costs more to install, so weigh benefits against budget and consider a small supplemental heater if needed.
Should I choose an HRV or ERV for moisture control?
- Both recover energy while exchanging air. HRVs are common in cold climates, while ERVs also transfer some moisture, which can help stabilize humidity. Consult an HVAC pro who understands local conditions.
How much storage should I plan for family and guests?
- Provide at least one cubby or locker per household member plus one or two additional sets for guests or rental use if that fits your lifestyle.
Can I retrofit a small closet into a workable ski room?
- Yes, with careful ventilation, moisture-resistant finishes, and at least one active dryer. Expect less simultaneous drying capacity, so plan for your actual peak use.
What finishes look best for resale in Big Sky markets?
- Neutral, durable finishes with concealed storage and a few warm accents show well. Highlight heated floors, built-in organization, and water-tolerant materials during listing.